Understanding drone calibration is key to ensuring your drone’s flight stability and performance enhancement. This vital process adjusts the drone’s internal sensors, crucial for accurate and safe flight. Therefore, learning how to calibrate a drone is an essential skill for any drone operator.
Drone Calibration is more than a one-time setup; it’s a critical part of ongoing drone care. It directly impacts Safety Measures and overall functionality. Without it, your drone might fly unpredictably, posing safety risks.
Regular calibration is essential. It helps your drone accurately interpret its orientation and movement. This is crucial, especially for achieving stable and reliable flight patterns.
Every drone enthusiast, from hobbyists to professionals, benefits from a well-calibrated drone. It leads to smoother control, steadier flights, and safer operations. This guide will provide a detailed overview of effective drone calibration techniques, emphasizing their importance for performance and safety in light of how drones work.
What is Drone Calibration?
Drone Calibration is a vital procedure that fine-tunes the drone’s sensors and components, ensuring Sensor Accuracy and Flight Stability. This process is essential for drones to accurately interpret their orientation and position during flight.
In technical terms, calibration involves aligning gyroscopes, accelerometers, and other critical Drone Components. This alignment is key to preventing common flight issues like drifting, tilting, spinning, or even crashing. These adjustments ensure that the drone responds correctly to pilot commands and maintains a stable hover position.
Calibration becomes particularly crucial in scenarios like aerial photography or videography. Here, precise calibration guarantees that footage remains smooth and stable, free from unwanted movements or drifts. It’s a process that enhances not only the safety but also the quality of the drone’s performance.
In summary, Drone Calibration is about more than just routine maintenance. It’s a crucial step in preparing a drone for reliable and safe operation, applicable to all drones, from the simplest to the most sophisticated models. Regular calibration ensures that your drone performs to its best capability, making it an indispensable part of drone operation.
When to Calibrate Your Drone
Calibrating your drone is essential to maintaining its peak performance and should be done in specific circumstances. Drone Calibration is particularly crucial when dealing with Environmental Factors, following Firmware Updates, and after being subjected to Transportation Vibrations.
Here are specific scenarios when recalibration is necessary:
- New Drone: Always calibrate a new drone before its first flight.
- Firmware Updates: Calibration is essential after updating your drone’s firmware, as updates can sometimes alter the drone’s settings.
- Geographic Relocation: If you’ve moved to a new area, recalibrating helps your drone adapt to the new environment.
- Performance Issues: Recalibrate if you notice a decrease in performance, such as the drone responding slowly to commands, drifting, or hovering incorrectly.
- Post-Transportation: Vibrations during transportation can misalign the drone’s sensors. Recalibrating restores them to optimal functioning.
Additionally, drastic temperature changes and exposure to magnetic fields can also necessitate recalibration. As a rule of thumb, recalibrating every four to six months, or after irregular flights and landings, ensures your drone operates at its best.
Staying attentive to these factors and recalibrating accordingly will ensure that your drone continues to perform reliably and safely, adapting well to both environmental changes and technical updates.
Things You Need To Calibrate A Drone
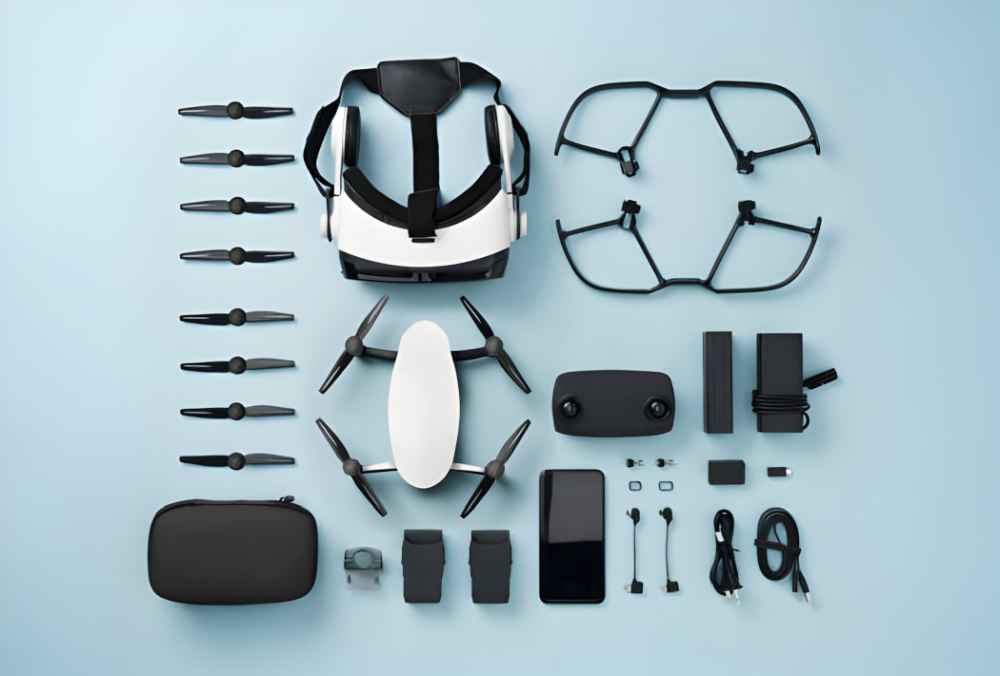
Effective Drone Calibration requires not only specific tools but also the right environmental conditions. Here’s an updated list of essentials for calibration:
- Fully Charged Drone Battery: Ensure your drone’s battery is fully charged to complete the calibration without power interruptions.
- Level Surface: A flat and level surface is crucial. This could be a table or any stable platform, necessary for accurately calibrating the drone’s internal sensors.
- USB Cable and PC Connection: A USB cable for connecting the drone to a computer and a PC with the manufacturer’s calibration software are essential.
In addition to these tools, the calibration environment is equally important:
- Stable, Interference-free Environment: Perform the calibration in a place free from electromagnetic interference or magnetic fields. Avoid calibrating near metal objects, as they can disrupt the process.
By ensuring a fully charged battery, a level calibration surface, proper computer connections, and a stable environment, you set the stage for a successful calibration. This attention to detail will help ensure that your drone is accurately calibrated, leading to improved performance and safer flights. It’s also important to consider how far can drones fly, as this factor can greatly influence its calibration and overall performance.
Simple Step by Step Instructions on How to Calibrate a Drone
Calibrating a drone involves specific steps for different components. Here’s a detailed guide:
- IMU Calibration:
- Ensure the drone is on a flat surface and cooled down to room temperature.
- The battery should be at least 50% charged.
- Use the drone’s app to access calibration settings, then follow on-screen instructions, moving the drone as indicated.
- Restart the drone after calibration.
- Compass Calibration:
- Fully charge the drone.
- Initiate calibration using the controller, observing light indicators.
- Hold the drone parallel to the ground, rotate horizontally until a light turns green.
- Then, rotate it vertically until another light turns green.
- Restart the calibration process if a red light flashes, indicating an error.
- Gimbal Calibration:
- Connect the gimbal and ensure no obstruction around it.
- In the drone app, go to camera view settings, access gimbal settings, and start calibration.
- Wait for the app’s notification of completion. If calibration fails, repeat the process.
Each step, from IMU to Compass and Gimbal Calibration, is crucial for the drone’s optimal performance. Following these steps ensures accurate motion detection, navigation precision, and stable camera movement.
Calibrating the IMU
Calibrating the IMU (Inertial Measurement Unit) is essential for your drone’s stability and orientation. Here’s an enhanced guide:
- Preparation:
- Ensure the drone is on a level and stable surface.
- The drone should be cool, not recently used, and have at least a 50% battery charge.
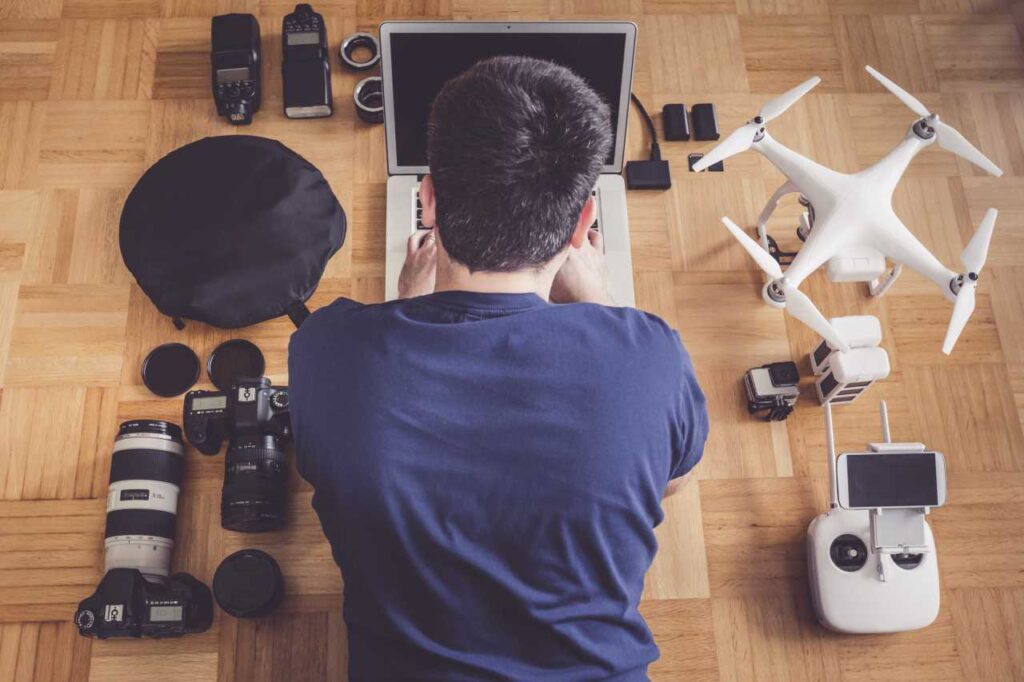
- Calibration Process:
- Open the drone’s app (like DJI Fly) and navigate to the main menu.
- Select the ‘Calibrate’ section, then ‘IMU Calibration’.
- Follow the on-screen instructions carefully, which may involve moving the drone in specific ways.
- Final Steps:
- After completing calibration, restart the drone to apply the settings.
Calibration of the IMU, which includes gyroscopes and accelerometers, is critical. It ensures the drone’s sensors accurately detect motion, maintaining balance and orientation during flight. Following these steps, especially in drones like DJI models, is key for a successful calibration experience.
Calibrate the Compass
Effective Compass Calibration is key for precise drone navigation and managing Magnetic Interference. Here’s an enhanced guide for compass calibration:
- Selecting the Right Location:
- Choose an area away from metal, magnetic objects, concrete parking lots, or cell towers.
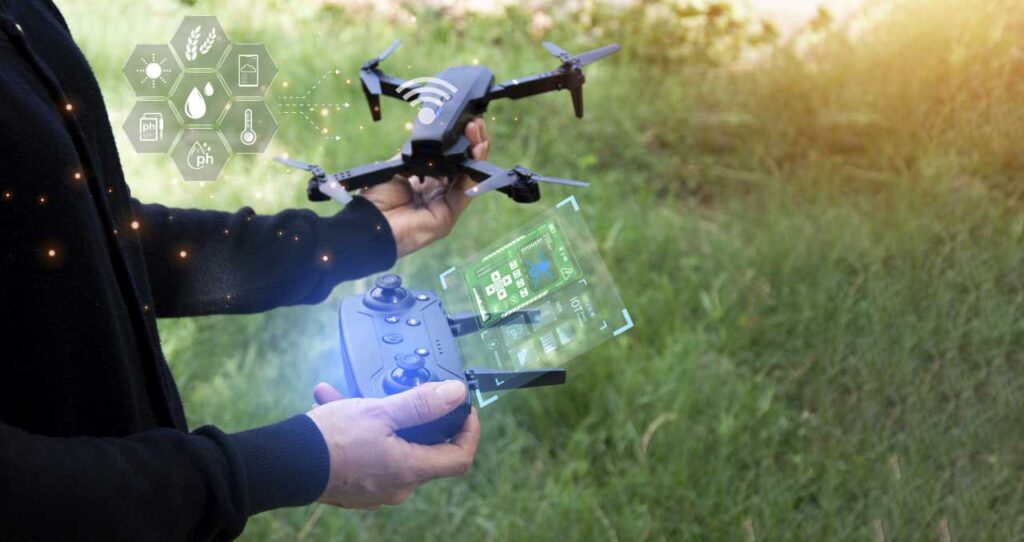
- Initiation Steps:
- Turn on the drone and its remote control, ensuring it’s fully charged.
- Start the compass calibration mode through the controller.
- Performing Calibration Movements:
- Hold the drone level to the ground and rotate it horizontally until a light turns green, indicating the first calibration step is complete.
- Then, rotate it vertically until another light turns green for the second step.
- Handling Errors:
- If a red light flashes, indicating an error, restart the calibration process and ensure accuracy in following the steps.
Proper Compass Calibration, involving the drone’s magnetometer, is crucial for accurate navigation. Regular calibration, especially after traveling to new locations or encountering error messages, ensures the drone flies accurately, minimizing the effects of Magnetic Interference.
Gimbal Calibration
Calibrating the drone’s Gimbal is essential for achieving stable video and image capture. Here’s an enhanced guide:
- Setup:
- Connect the gimbal to the drone and power it up, ensuring there are no obstructions around it (even grass).
- Calibration Process:
- In the drone’s app, go to the camera view settings and access gimbal settings.
- Select the Gimbal Calibration option and follow the on-screen instructions.
- Finalizing Calibration:
- Wait for a notification from the app confirming the calibration is complete. If it fails, repeat the process.
Regular gimbal calibration ensures smooth camera operation, crucial for high-quality aerial photography and videography. Note that specific steps may vary slightly based on the drone model.
How often should you recalibrate your drone?
Calibration Regularity plays a crucial role in your drone’s performance. It’s essential to recalibrate key components like the gyroscope and accelerometer regularly. This keeps your drone’s control precise and reliable.
You should recalibrate when environmental conditions change, after updates, or if your drone undergoes repairs. These steps help your drone adapt and function optimally.
Look out for signs like drifting or tilting. These indicate recalibration is needed. A good practice is to recalibrate before each flight, considering your drone’s model and usage conditions. Regular calibration ensures stable flight and accurate responses.
What If Your Drone Still Drifts After Calibration?
Drone drift post-calibration could be due to several factors. It’s similar to a car with misaligned wheels, continuously pulling off course.
Compass and IMU Calibration Errors: Incorrect calibration or magnetic interference can affect your drone’s compass and IMU, leading to drift. Ensure no nearby metal objects disrupt the process.
Propeller and Battery Issues: Damaged propellers or low battery voltage can cause drifting. Regularly inspect propellers and monitor battery levels.
Firmware and Sensor Issues: Outdated firmware or sensor calibration errors can impact flight stability. Check for software updates and recalibrate sensors as needed.
Magnetic Interference: Avoid areas with strong magnetic fields, as these can confuse the drone’s compass, resulting in drift.
In summary, addressing drone drift involves checking compass and IMU calibrations, propeller condition, battery voltage, firmware updates, and avoiding magnetic interference. These steps help ensure stable flight and accurate control.
Wrapping Up
Regular Drone Maintenance, including consistent calibration, is crucial for Stable Flight and Safety Measures. This guide has highlighted the importance of calibration in various aspects, from ensuring flight stability to enhancing performance.
Calibration, a key part of maintenance, directly affects your drone’s long-term health and performance. By regularly calibrating components like the IMU, compass, and gimbal, you ensure precise control and stability.
In conclusion, make regular calibration a priority. It’s essential for safe, reliable, and enjoyable drone flying experiences. Remember, a well-maintained drone not only performs better but also lasts longer.